The bite... It got worse. I think I might be dying... I think I might be... DEAD.

We are going to make a gaping mouth so before you start to apply makeup, use a brown pencil to trace where you want the mouth to be.


Stipple on a gray cream makeup base all over the face leaving the mouth clear.


Now just like with the bite tutorial. take liquid latex and place it wherever you want there to be raised skin, wounds, or texture. and then layer with one layer of toilet paper or tissue. Let each layer dry in between and then add another layer of latex and paper.

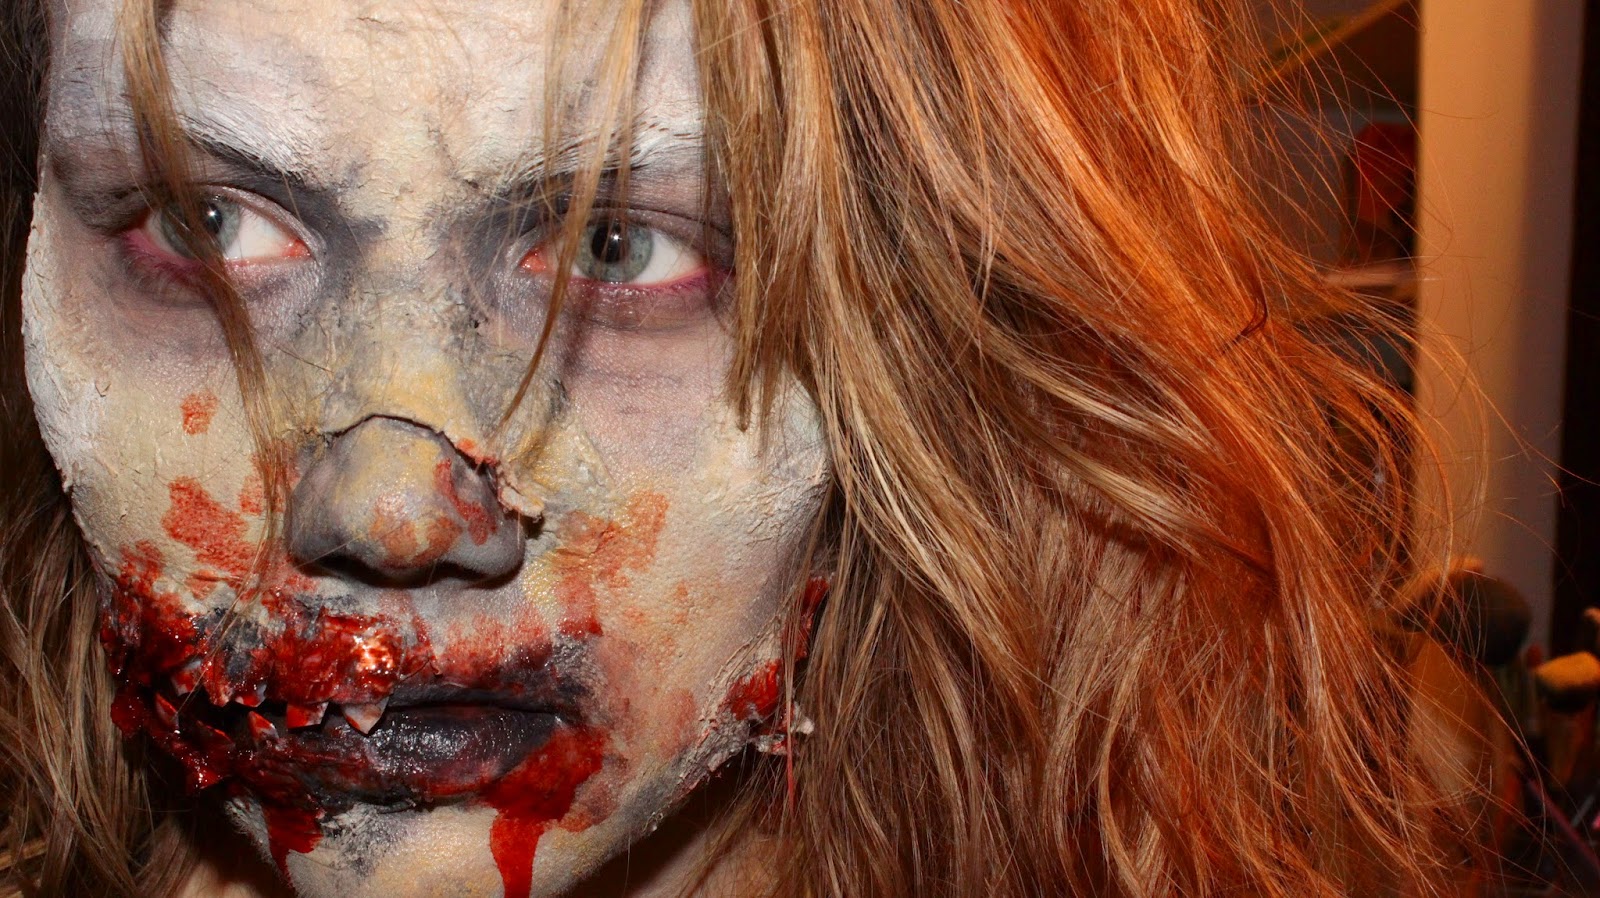
You'll look a little like this!

Powder with a skin toned powder.
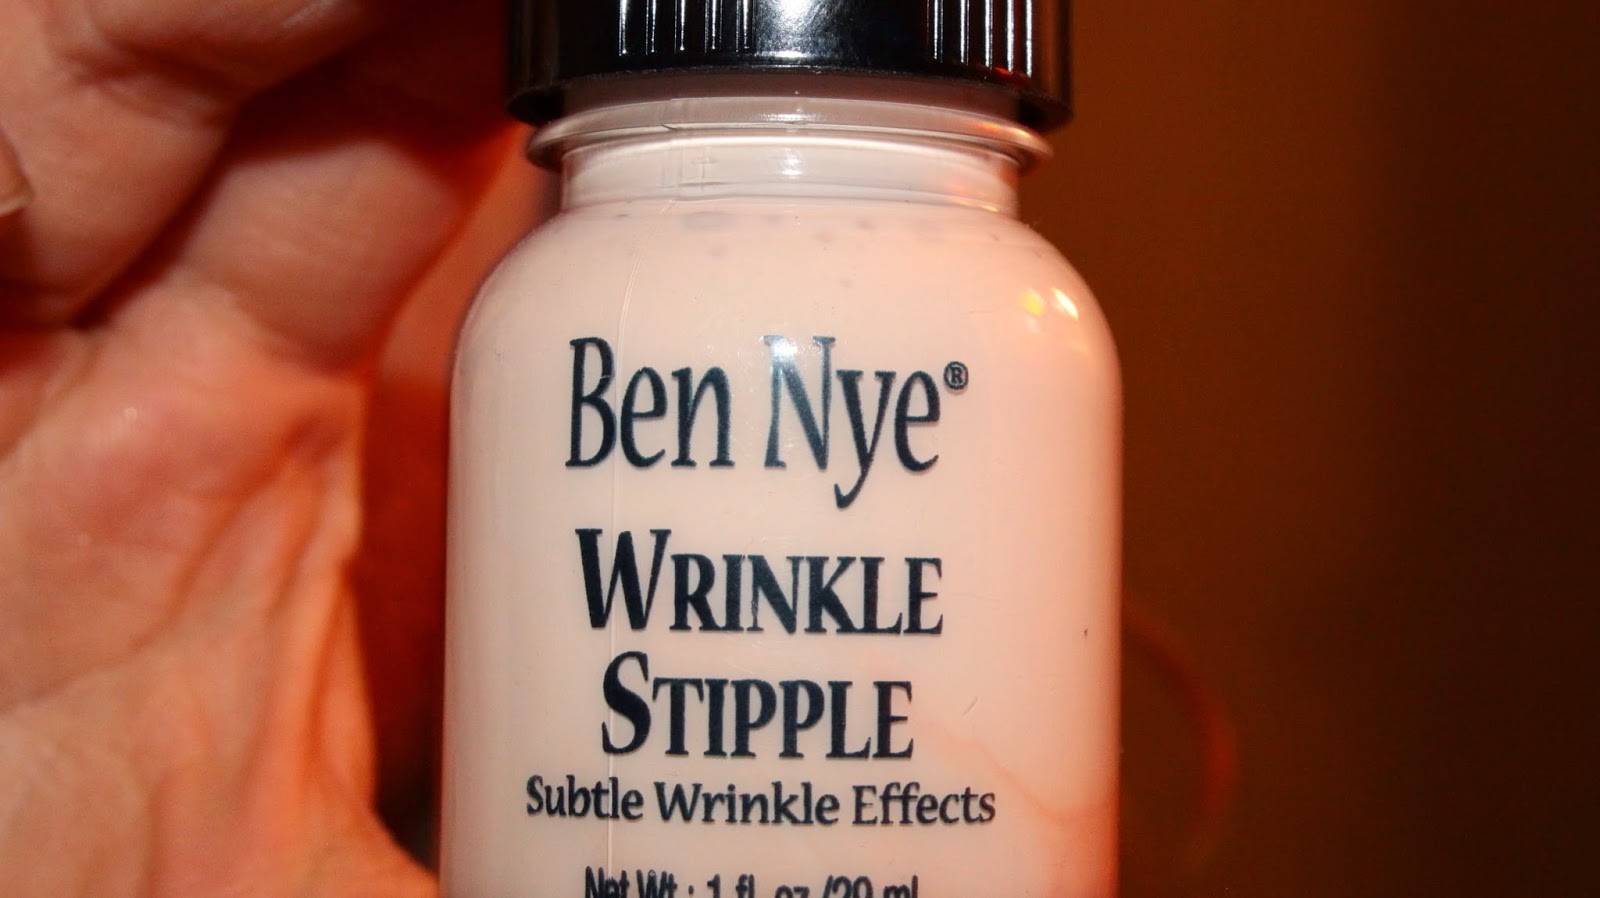

Using Ben Nye wrinkle stipple or even just more latex, swipe it on the forehead and make an angry face. Use a blow dryer to dry the latex quickly.

And powder.


Pull and rip gently at the wounds. GENTLY!


place black cream under the rips to ad depth.


Sponge gray cream makeup and yellowish brown cream makeup all over the face. really layer it up. Don;t be stingy!

Add black shadow under the nose wound and between the lips.


Darken around the eyes with black shadow making sure that the darkest areas are around the outer sockets.


Highlight and contour the face. Highlight the cheekbones and browbone with white and gray cream and contour around the areas with gray brown shadow.


Press black shadow all around the face. Blend with your finger to look like black decay.

Add wrinkles with black shadow under the eyes with a small brush. Use your own under eye wrinkles as a template. You can tilt your face down and look straight into a mirror to to make them more pronounced.

Add black around the nose to darken the area.

Using cut up fake nails for teeth...


Add spirit gum to the back and TAP IT! If you don't tap it, it wont become sticky. And make sure you have spirit gum remover.

Press them underneath the mouth opening in any way you like.

Add red liner to the upper and lower lash lines.

Darken the area around the wounds with black and red paint.

Add blood to all of the natural places blood would go if you were just eating a nice piece of human flesh!!
And YOU'RE DONE!


Thank you so much for reading!! Hope you enjoyed my second version of a zombie on my blog! Happy fall... and happy eatings!
Mwaahahahaha!
&> Chelcey
Be sure to check out your local Halloween stores for any of these products! The cream stack came from walmart for about 4 dollars! Awesome! And as for toilet paper... I hope you have some of that hanging around!


