Monday, September 30, 2013

Quick Bit About A Product I Love

                  Alba Un-petroleum 
Now if you didn't know, petroleum jelly is exactly what the name states. It is a byproduct of oil drilling. So the oil you put in your car... Get where I'm going here. So after doing some research I found this little beauty (and yes some help from watching Kandee Johnson videos!). 
So as you can see Un-petroleum is made up of natural ingredients that are much less intimidating in my opinion! 
The consistency is isn't as hard as regular petroleum but the wonderful powers of the "healthier" version are just as amazing if not better. 
I use this as a moisturizing mask if I'm feeling dry, I put it on my eyes at night for a surge of moisture (because I have CRAZY dry eyelids),and it doesn't hurt that is makes my lashes super soft. I put it in my lips, my cuticles, my feet... Anywhere that needs a little moisture pick me up. You can even put it on the ends of your hair at night(if you are going to shower in the morning). 
Bottom line: I love this stuff! It has helped me so much in the last year since my skin decided to go crazy and be dry. I would absolutely recommend this to anyone who likes petroleum jelly or someone looking for a good night time moistur surge for their skin. 
I usually get mine on amazon for around $6.00. But I know most people can get it in health food stores like Whole Foods if you have one in your area. 
Like usual let me know if you get your hands on some of this and if you like it!! 
I'm also looking for some ideas for Halloween looks so fire away with suggestions of what you would like to see. 
Thank you for reading!! 
&> Chelcey 

Sunday, September 29, 2013

Rimmel Show Off(Apocolips) Lip Lacquers Review


Let's jump right in guys! First off I have to say that I love these lip lacquers! They they are very smooth and CRAZY pigmented. You get a little moisture from them if you use them full on, but I would still recommend using a lip balm before hand. 
The texture is almost like a cream so they glide on like butter! I have 4 of the colors, and I absolutely love them to pieces.
Just one swipe on the hand and they come out full force.
If I had to compare these to any other product I would have to say they they are a pretty good drugstore version of the OCC Lip Tars. They are not as strongly pigmented but they give a very similar look. But that's kind of the main thing I love about these, you have the option of sheering them out by using less product!
Now for lip swatches!! Starting from lightest to darkest.
Nude Eclipse
Sheer
Full on

Luna
Sheer
Full on

Celestial
Sheer
Full on

Big Bang
Sheer
Full on

So as you can see you are getting a very versatile product, and the cost of these powerhouse lippies is amazing for what you get! $4.99 at your local Walgreens!! You can usually get them on a buy one get one 50% off sale too! AMAZING!! That makes them $3.75 a piece. I'm pretty sure you can only get them at Walgreens currently as well.
If you get a chance to try any of these please let me know! I would love to hear your feedback! 
Thanks for reading!
&> Chelcey

Friday, September 27, 2013

Sparkly Review: Lorac 3D Liquid Luster

HOLY GLITTERY HEAVEN
BAM! In your face with some sparkle!
Lorac 3D Liquid Luster in Diamond
I went into Sephora to get this not really caring what the price was and I ended up SHOCKED!
In a good way! It was only $16.00.
It comes like this. Glitter is suspended in an almost water like solution so you will need to shake it up before you use it.
So it looks like this.
 Mostly white shimmer with little bits of slightly bluey gold.
Its just gorgeous!
This is just one measly drop. There is so much shimmer and frosty goodness that it's going to take me forever to get through this precious little vial.
Placed on the lid without any base or shadow, you will get a very subtle pretty shimmer on the lid that people are sure to notice.
But the big deal?
When placed over a shadow, WHAPOW! The luster really comes out.
Your eyes will be glowing, but it really is so beautiful that it doesn't come off as tacky or overpowering.
Here's a better look.
 I wore the 3D drops for an entire 13 hour day and it stayed on great but to be fully honest, I did get some fall out on my cheeks. My eyes still looked fabulous and I just dusted away the little sparkles with my finger.
Wear this on your eyes whenever and where ever you please! (If you're like me it will be all the time because you are worse than a gold fish when it comes to shiny things!)
If you are oh so daring you can wear this on your cheeks for a fun glimmery shine. But I would only recommend doing so for a night out. You could easily put this on your decolletage. Oooo that would be so pretty now that I think about it. I'm going to have to slap some on the next time I have a night out, or just a fun night in. Haha.
I really love this little tube of sparkly joy and I am looking forward to getting the Gold as well.
And if I do I will be sure to give you the first look!
Thank you so much for reading!
If you pick this up please let me know! I would love to hear your thoughts!
&> Chelcey


Wednesday, September 25, 2013

Colgate Slimsoft Review Via Influenster

So Teeth...
Your smile is the epitome of beauty on your face. 
Now when I think about it, as long as your teeth look clean and shiny there positioning doesn't really matter. Frankly if you are willing to smile with your entire face and really show the joy you have, no one is going to care what your teeth look like.
But that's beside the point.
I was lucky enough to receive my first Vox Box from Influenster this month and it came in a little box like this..,
When I opened it I found a card
(Sorry about the glare)
It explains that the tooth brush has smaller bristles that easily and gently get every nook and cranny of your teeth to get them EXTRA CLEAN.
So what did I get in this fun little box?
The coming soon (I assume) Colgate Slim Soft tooth brush as well as a Colgate Total mouthwash and tooth paste.
Now I wanted to give these products a good try before I even typed a single letter onto this blog.
The tooth paste. I think it's probably as good as any other toothpaste that I use currently. So not life changing.
The mouthwash: Well I am not really a fan of mouthwash without alcohol. That seems a bit odd I'm sure but the burn pretty much just makes me feel like it's working. So when I saw that this one was alcohol free I was not sure what to think. 
I love it. I feel like the SUPER mintyness makes up for the burn that I usually miss. After your thirty seconds of swishing your mouth is going to feel  like you're breathing in frigid air. It's pretty much amazing. So if you're in the same boat as myself with the no alcohol thing I really think you will love this mouthwash.
Now for that toothbrush!
 Yay for enjoyably brushing my teeth and tossing my old manual toothbrush.
This little brush packs a punch! It is incredibly thin so that you can get every single tooth front, back, top, and under your gums. It is so soft that it literally feels like your giving your mouth a massage. It is the most comfortable experience, and when I rinsed my mouth my teeth were cleaner than they ever have been before!
I'm not sure when this toothbrush will be out but I really do recommend it. My teeth and gums feel and look clean and amazing!
Thank you so much to Influenster for including me in on this experience.
And thank you very much for reading. If anyone gets to try this please let me know what you think!
&> Chelcey

Monday, September 23, 2013

Easy Autumnal Eye

Here is the last part of my Beautiful Face posts!
A simple but trendy fall eye look! 
Lets get started.
Starting out with a slivery taupe base
(Tarte emphasEYES Waterproof Amazonian Clay Cream Eyeshadow in Slate)
Pick some of the cream shadow up on your ring finger and apply gently to the entire mobile lid. (The part that you blink)
 Blend slightly outwards following your lashes.
With a flat eyeshadow brush (or small concealer brush) pat a blue gray shimmer eyeshadow over the lid.
(This shadow is coincidentally also called Slate a la the Lorac Pro Palette)
  Now you can see here that i looks a little too harsh so you're going to want to blend those edges baby!!
Just swipe a fluffier shadow brush in a windshield wiper motion along the crease.
Line your water line with a nude pencil for a larger eye effect(if you prefer more smokey you can line with a gray or black liner) This looks scary but it shouldn't hurt, just tickle as long as you don't poke your eyeball.
(Rimmel Scandaleyes Waterproof Kohl Liner in 005 Nude)
With the flat brush smudge a small amount of the blue gray shadow on top of your lower lashes, only smudging to the center of the pupil.
 With a black shadow and angled liner brush, push the black liner right into your upper lashes and sweep outwards slightly at the outer corner of your eye.
(The Black shade from the Lorac Pro Palette)
Add your favorite mascara. 
(eyeko LONDON Curvy Brush Mascara)
And because I have pretty fair brows I always fill them in a bit with an angled brush and my Sigma Brow Powder in Scarlett.
AND YOU ARE ALL DONE!!

Super simple and SUPER pretty! Shimmery slightly silver eyes are pretty trendy this fall so you can easily steal the look without having to keep a professional makeup artist in your closet! 
I hope some of you will try this out and if you do I would love to see a picture!
Thank you so much for reading!
&>Chelcey

Sunday, September 22, 2013

Simple, Easy and Natural Contour and Highlight!

HELLO CHEEKBONES!
Ha well we can try at least right?
How?
I'll show you.
A little thing to remember when contouring and highlighting: Making parts of the face darker will make them recede and making parts of the face lighter and brighter will bring them forward! Just like a painting!
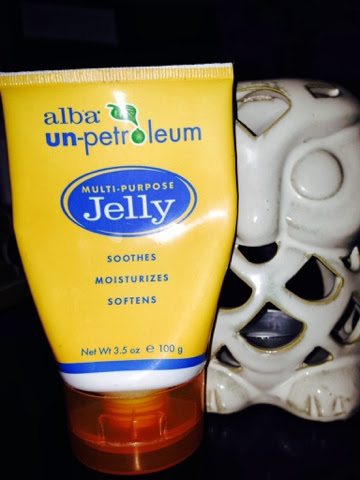
You can look at my Flawless Base blog to get your foundation ready if you like!
So where to begin..
 Start with a contour color that suits you!
I'm just using a Cover Girl Face Powder in Classic tan.
I also like the Two Faced Chocolate Solie bronzer and the ELF Contour Kit bronzer for this step.
Key tip is to make sure that the color that you choose isn't too orange! No Oompa Loompa cheeks please.
For the larger contours of my face I am using the Sigma F40 brush.

Now suck in those cheeks! I love how completely goofy I look here! haha.
Dip your brush into your powder and lightly sweep the brush in the hollows of your cheek making sure not to go too far past your pupil. Doing so can drag your face down and make you look older.

 If your are worried about the dreaded double chin, sweep the brush directly under your chin and bring it down the sides of the neck so it blends seamlessly! No body wants to have their face not match their neck. NOT a sexy look!!
You can also sweep some powder along the hair line and the temples to reduce the look of the forehead.

 Now if you aren't the biggest fan of your nose, you can contour that too!
I am using the Sigma E25 fluffy eyeshadow brush to sweep the contour powder in an up and down motion to slenderize the look of my nose. You can also darken the bridge of your nose, nostrils and ball of your nose to make them appear smaller! Makeup really is amazing and versatile.


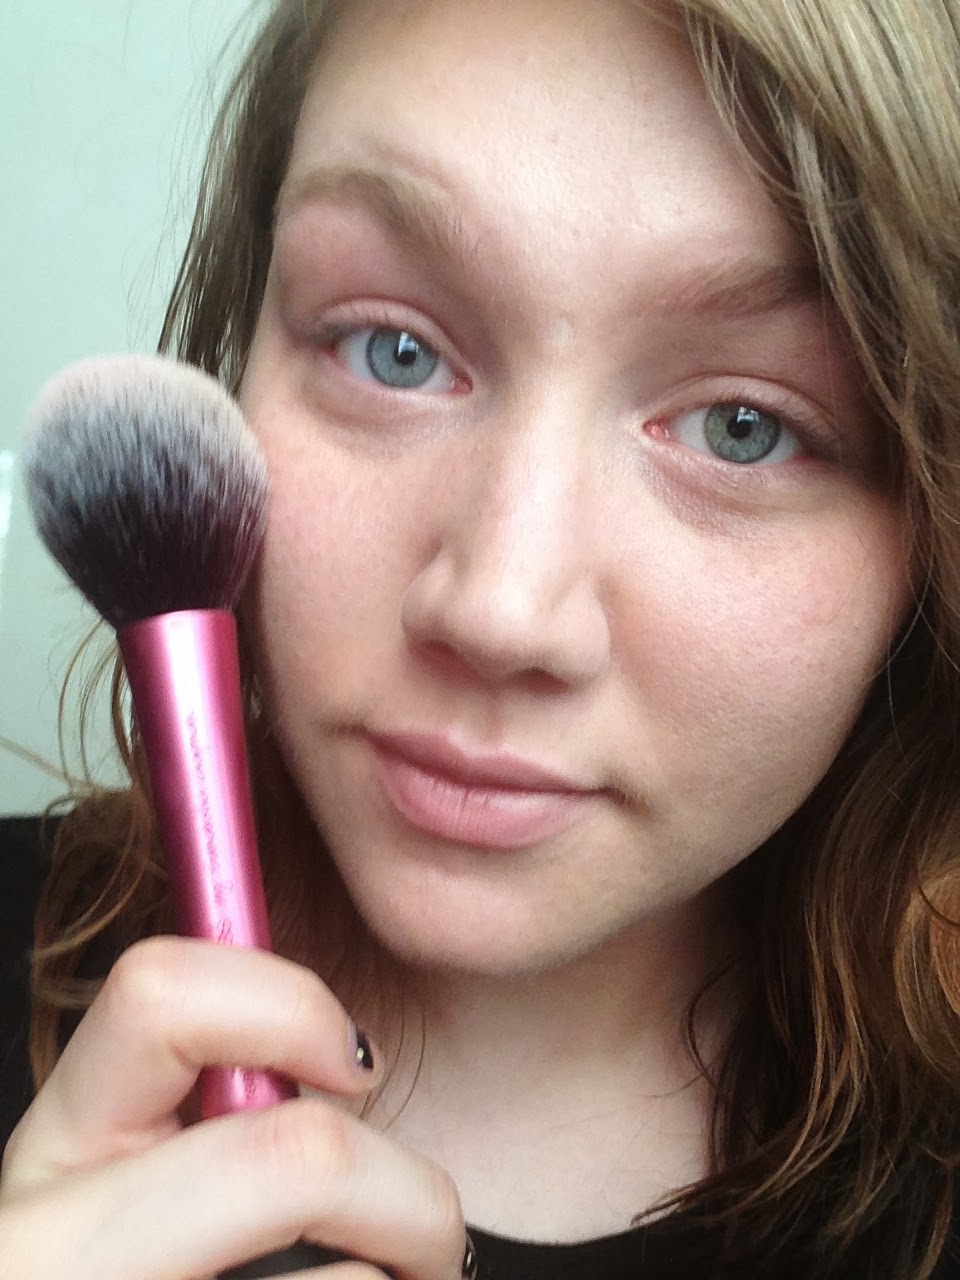
Now add some blush! I'm using Frat Boy by The Balm and my Real Techniques Blush Brush.
Sweep this right above where you applied your contour. Once again not too close to the center of the face.
If you're worried about harshness or maybe you just applied to much, all you have to do is sweep a fluffy powder brush across your face to blend everything out.
For my highlight I have my favorite Cream Color Base by MAC in Hush.
It has a pretty very pale shimmery(NO GLITTER) pink tone to it.
Tap your ring finger in lightly. (Excuse the nail polish. Gross I know.)


Now place in strategic places that you want the light to catch and make stand out.
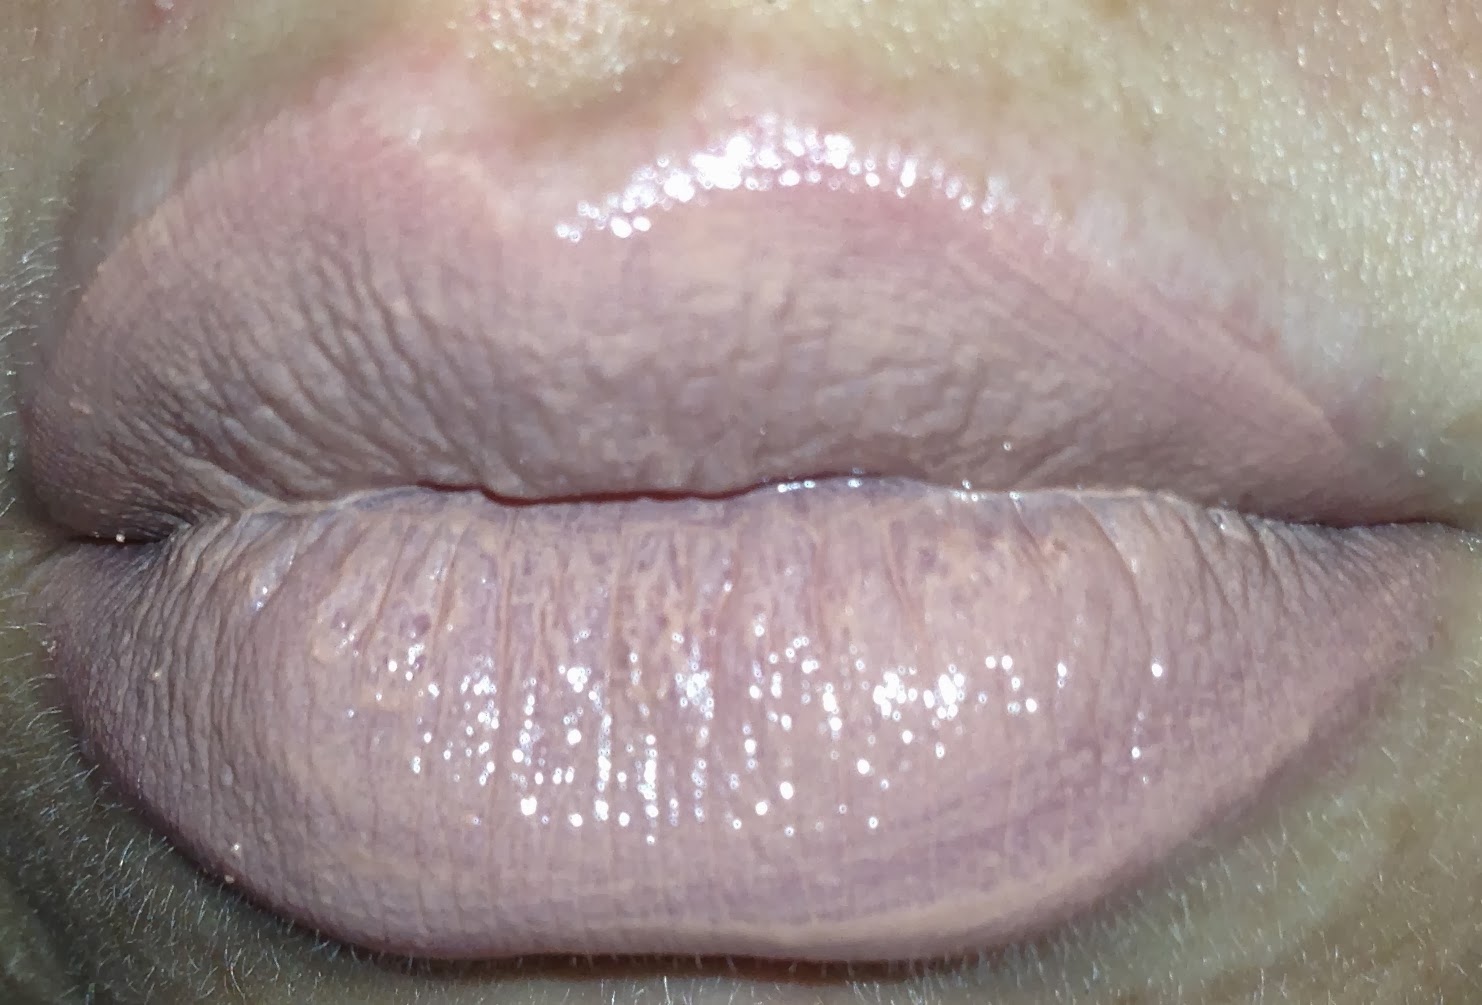
I placed it on my cheek bones, down the center of my nose, on the inner corner of my eyes, and  on my cupids bow(right above the lip but not in the indent)
 Now is the time to add a setting spray if you like them. I like the Skindinavia No More Shine spray but there are so many of these guys on the market! Urban Decay, Mac and even ELF!
AND YOU'RE DONE!!
I took two pictures in different lighting so you could see how everything looks where ever you may be going!
Indoor lighting

And where I think all makeup looks best, Natural sun light
Very natural and pretty!
Thanks for reading.
Like usual I hope this helps SOMEONE!
&> Chelcey